


Here are steps I took to deploy Hasura on DigitalOcean App Platform, backed by a managed Postgres instance:
Create the Postgres instance
Under "Databases," go to Create, and simply choose a region, plan, cluster name, etc.
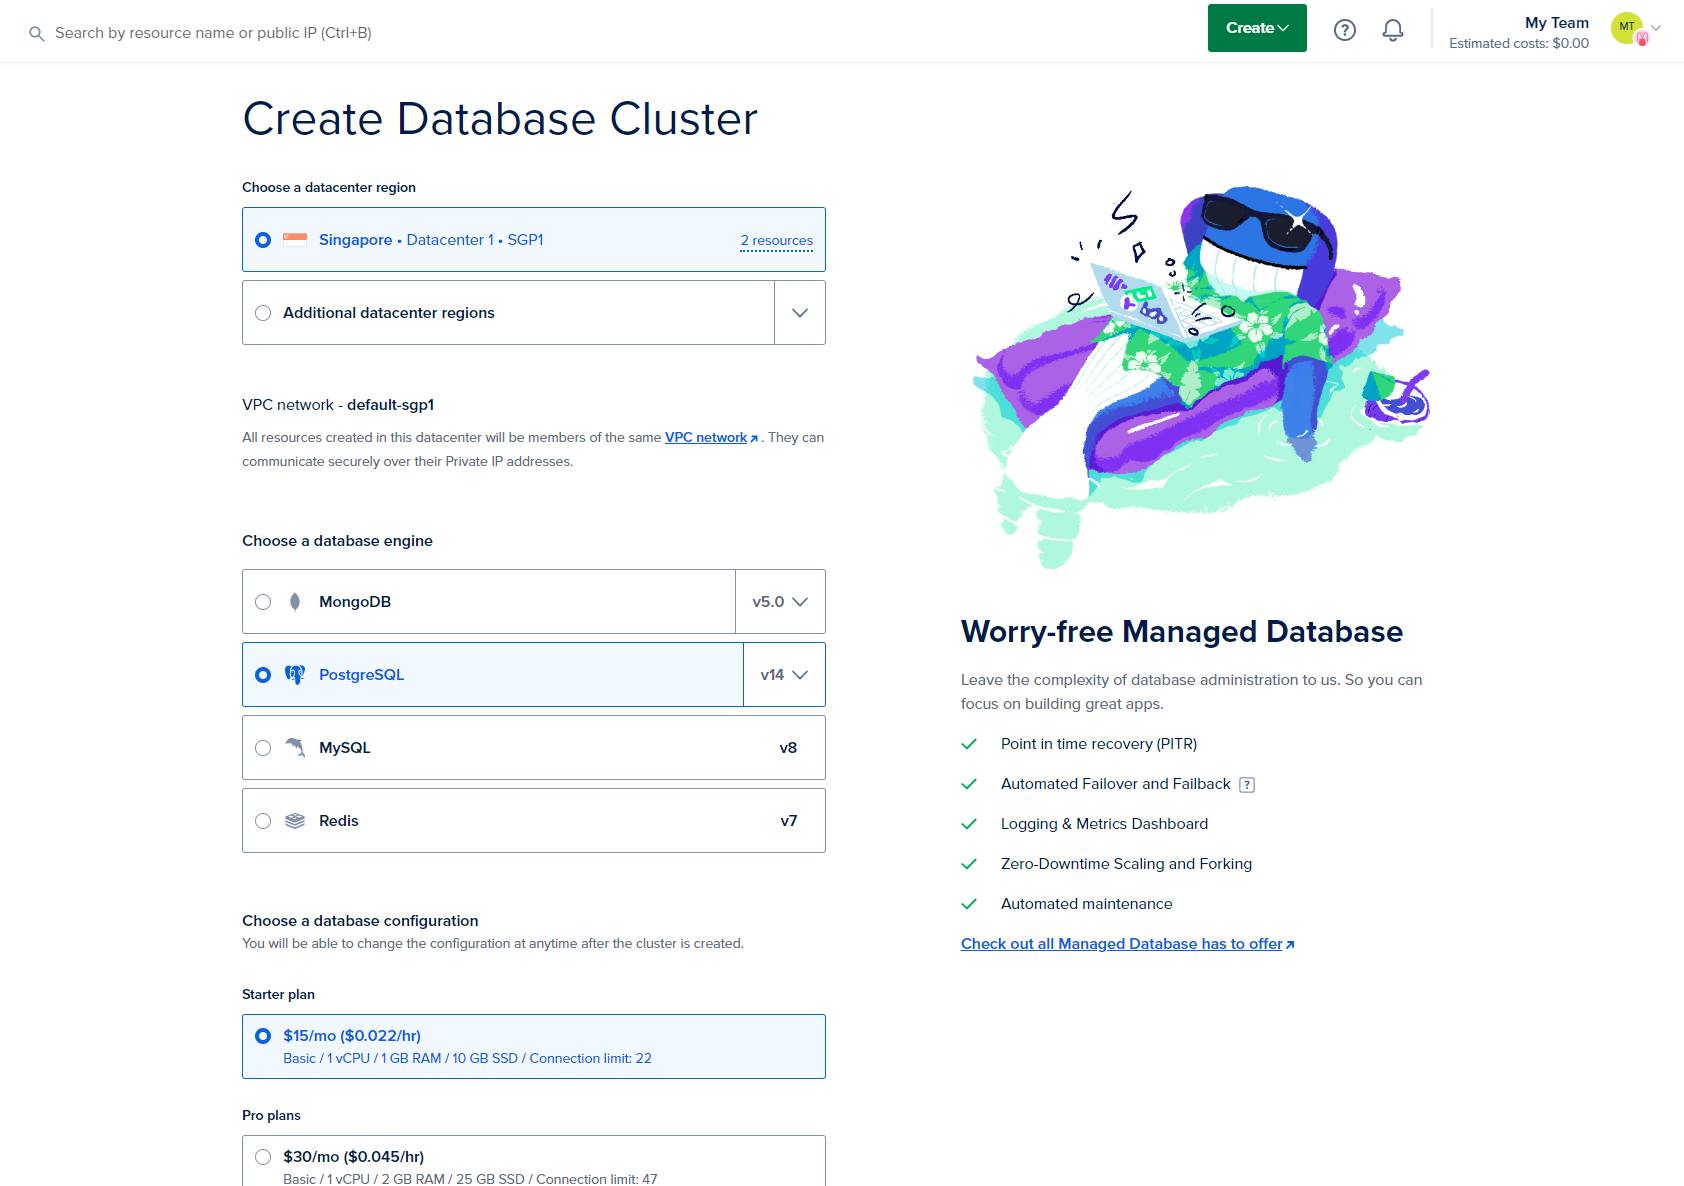
We will leave the database open to all incoming connections in the meantime. Later, we will set up trusted sources.
Optional: Create a database for Hasura
You can create a dedicated database that Hasura will use to store metadata, app settings, etc., instead of using the default defaultdb database. Under Users and Databases, simply add a new database and hit Save.
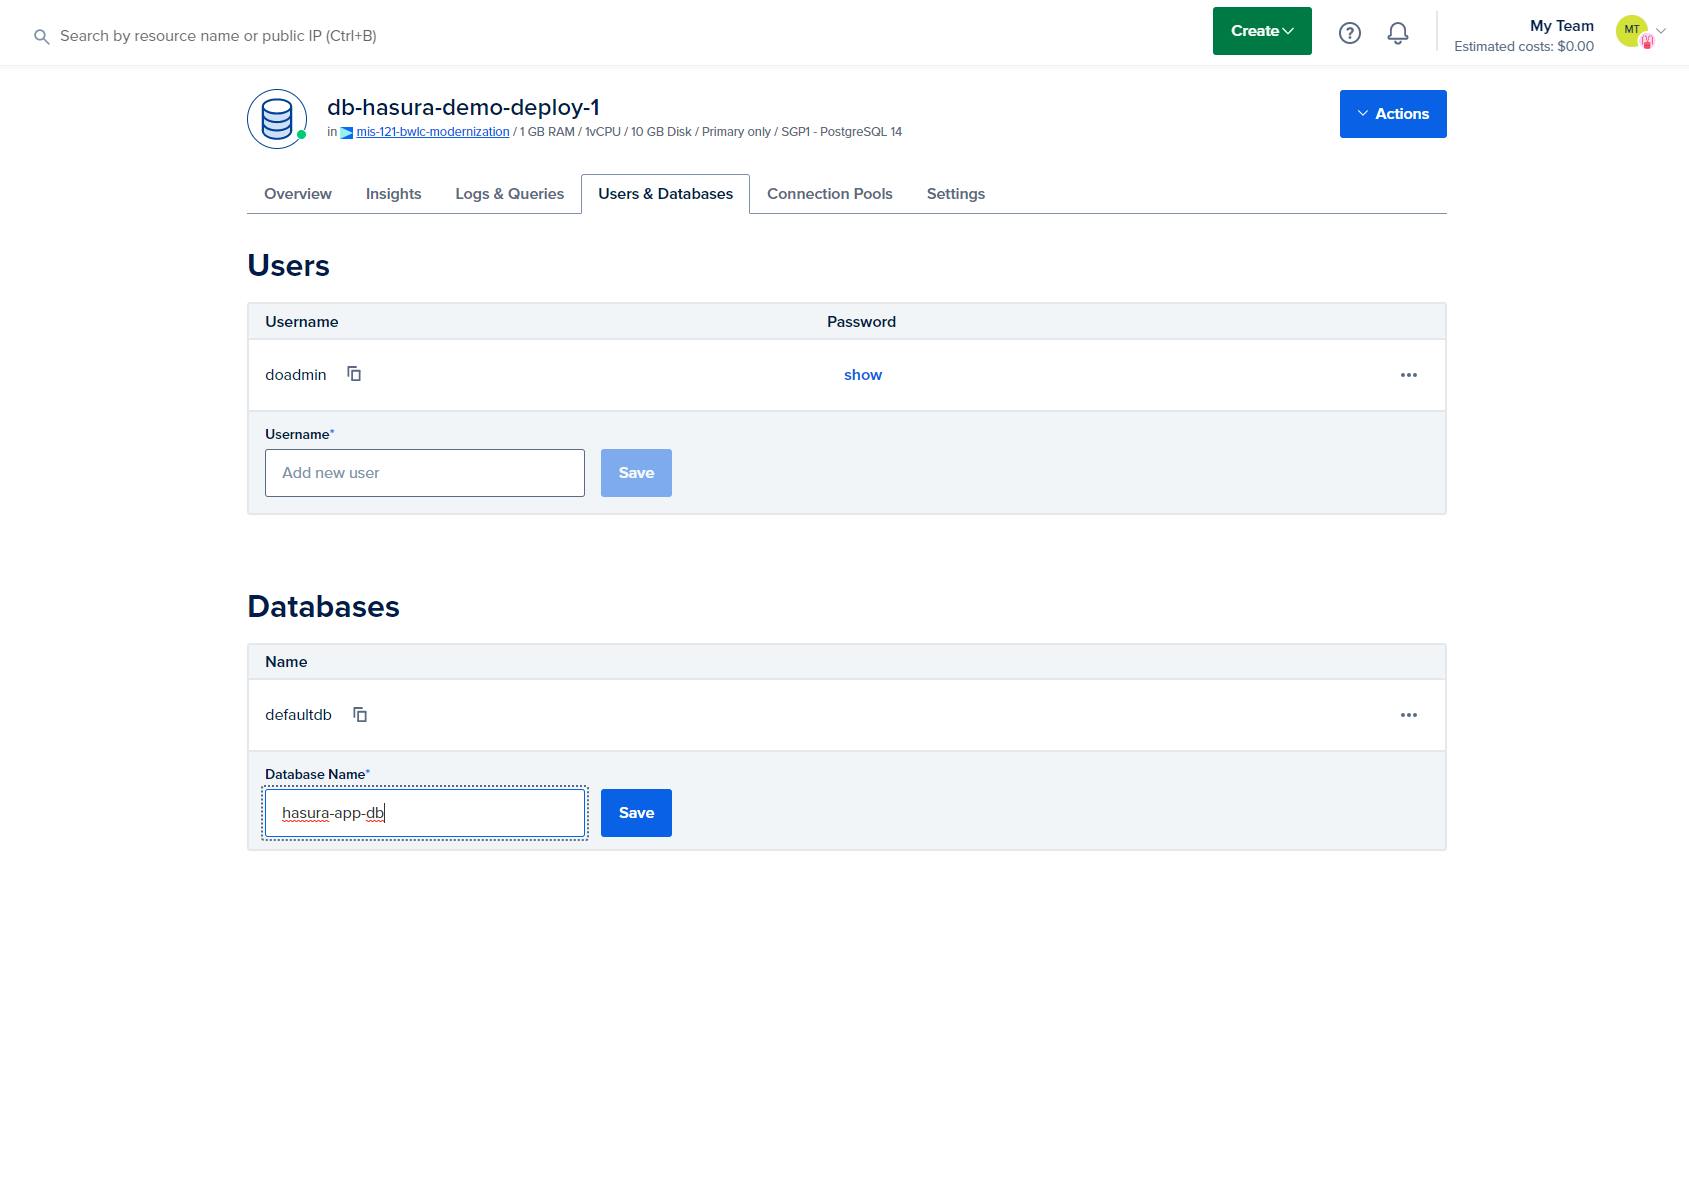
You can also create a dedicated user for Hasura in the same panel. However, you will need to configure additional permissions for it in order for the deploy to succeed, such as allowing it to create schemas. This is outside the scope of this guide.
Optional: Create a database and user for data
If you wish to use the same DO Postgres instance to store data, you can use the same panel above to create another database. We can also add a dedicated user for the database (that we will use later on to connect Hasura to this database) using this panel. In my limited testing so far, the default permissions DO grants to this new user will allow Hasura to connect, administer, query, and mutate the data.
Create the App in App Platform
Under Apps, create an app. You will be greeted by the Create App wizard.
First, the wizard will ask you to create a Resource. Do the following:
- Under "Service Provider," select "Docker Hub".
- Under "Repository", enter
hasura/graphql-engine - Under Tag, enter the latest version number. It is not recommended to use the "latest" tag, so do not leave this blank.
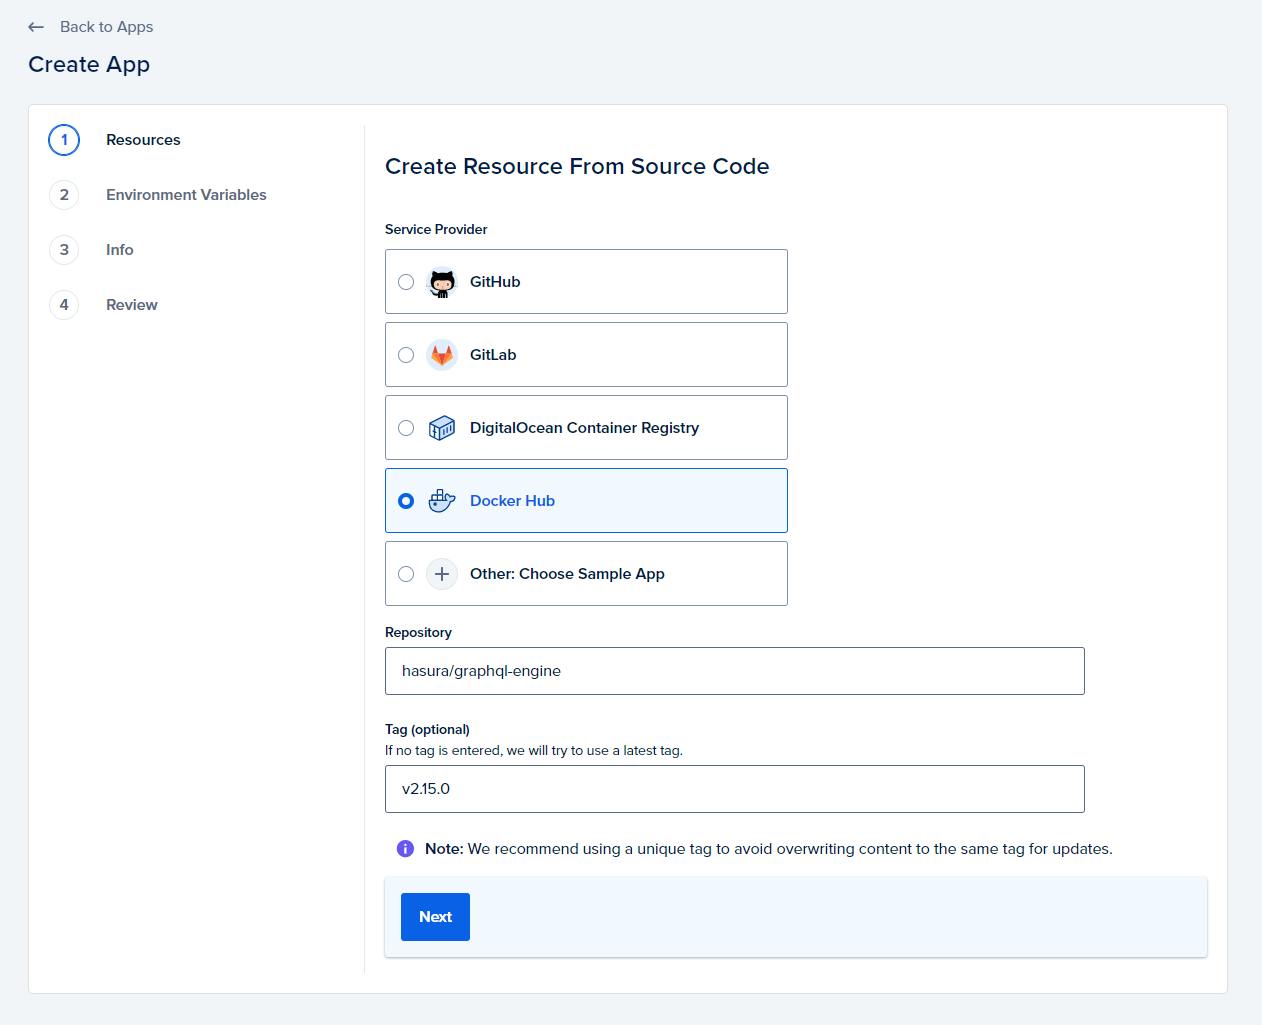
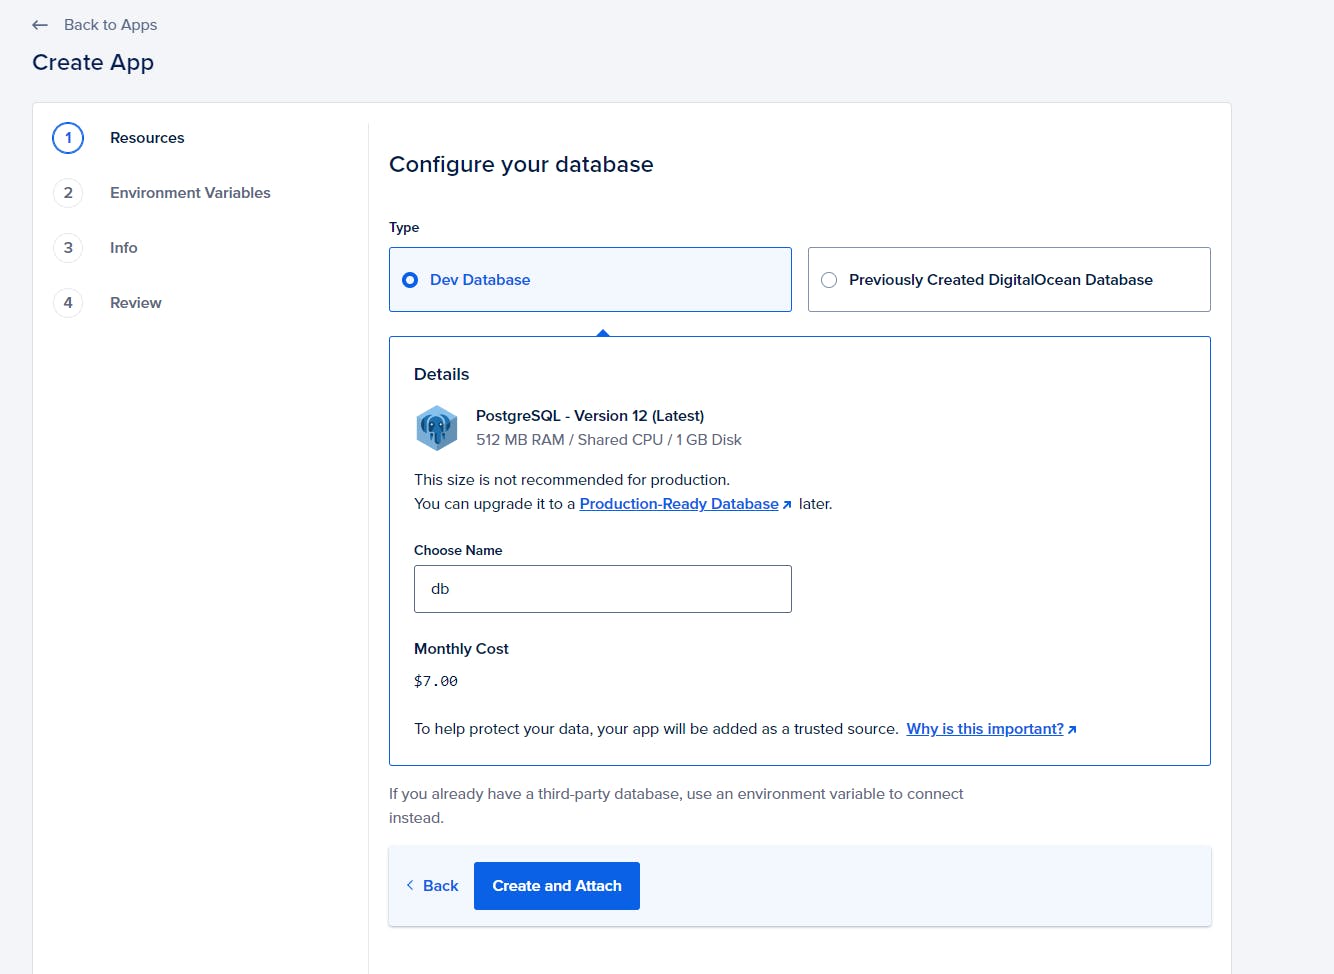
After clicking "Next", you will be greeted by this screen:
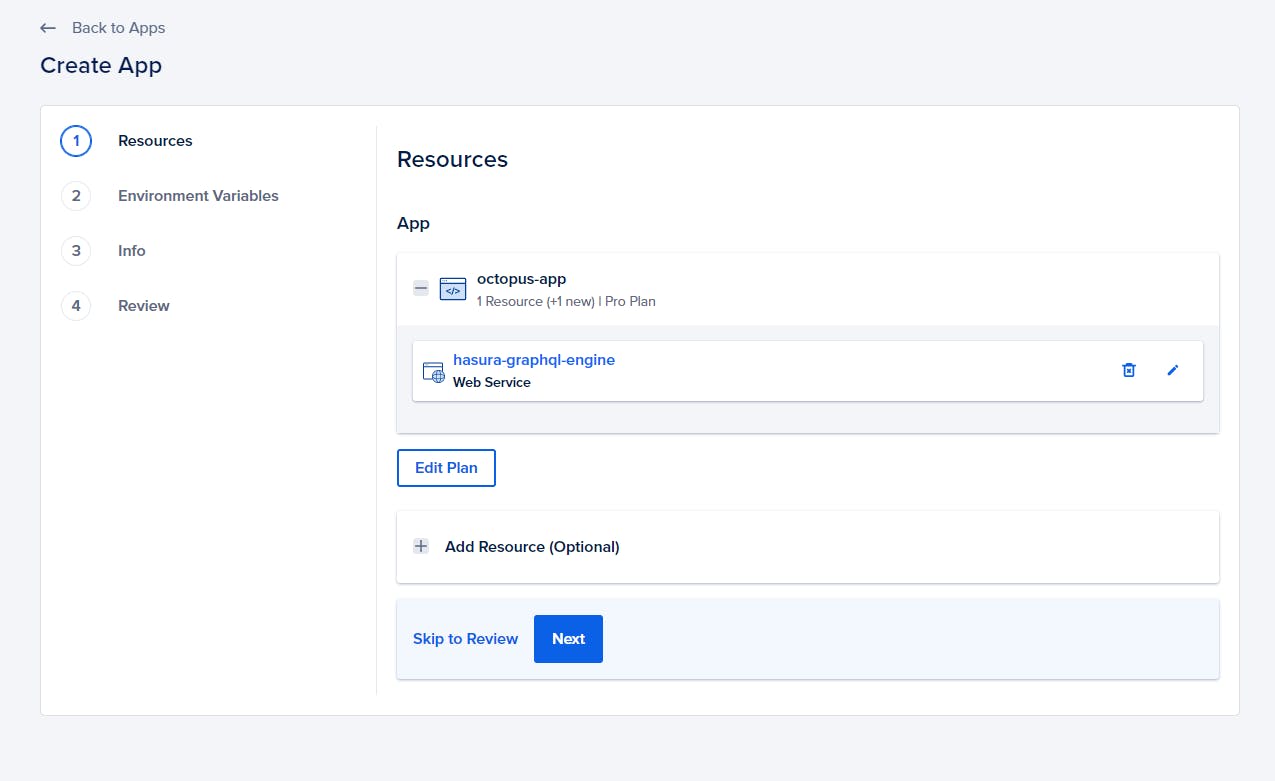
You can edit the App Platform Plan by clickling "Edit Plan." You might want to review this carefully, since DO defaults to selecting the base Pro Plan. For testing, there are cheaper plans that you can avail of.
Connect the Database
Now, we will connect the database we made earlier to the app. Click on "Add Resources" and select "Database," then click "Add."
You will then be directed to this screen:
Select "Previously Created DigitalOcean Database." Then, select the following:
- Under Database Cluster, select the database cluster created earlier.
- Under database, select either the default database, or, if you opted to create a separate database for Hasura earlier, select that database.
- Under user, select the
doadminuser; or another admin user with the necessary permissions for Hasura to successfully deploy.
Don't forget to select "Add app as a trusted source." This will lock down access to the database cluster to just Hasura.
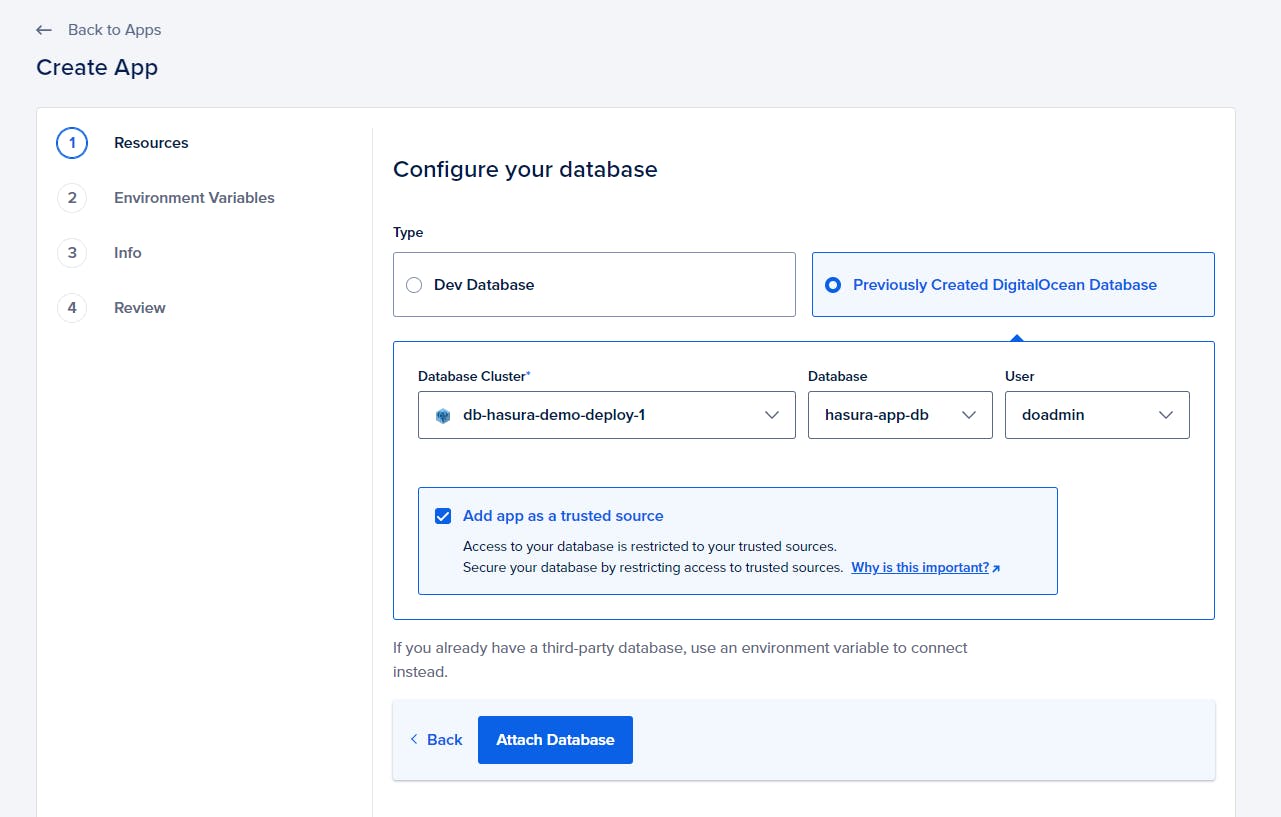
Click on "Attach Database." You should then see the database under "Managed Databases." Click next.
Setup Env Variables
Here we set up Hasura's environment variables. As a basic deployment, we will set up the following:
HASURA_GRAPHQL_ADMIN_SECRET- Any secure value. This will serve as both your admin secret and the password for the Hasura console. Highly recommended to encrypt this value.HASURA_GRAPHQL_ENABLE_CONSOLE-trueThis will allow access to the Hasura console. By default, Hasura disables the admin console.HASURA_GRAPHQL_DATABASE_URL-${<ENTER_DATABASE_NAME>.DATABASE_URL}This will bind to the connection string environment variable provided by DO App Platform.
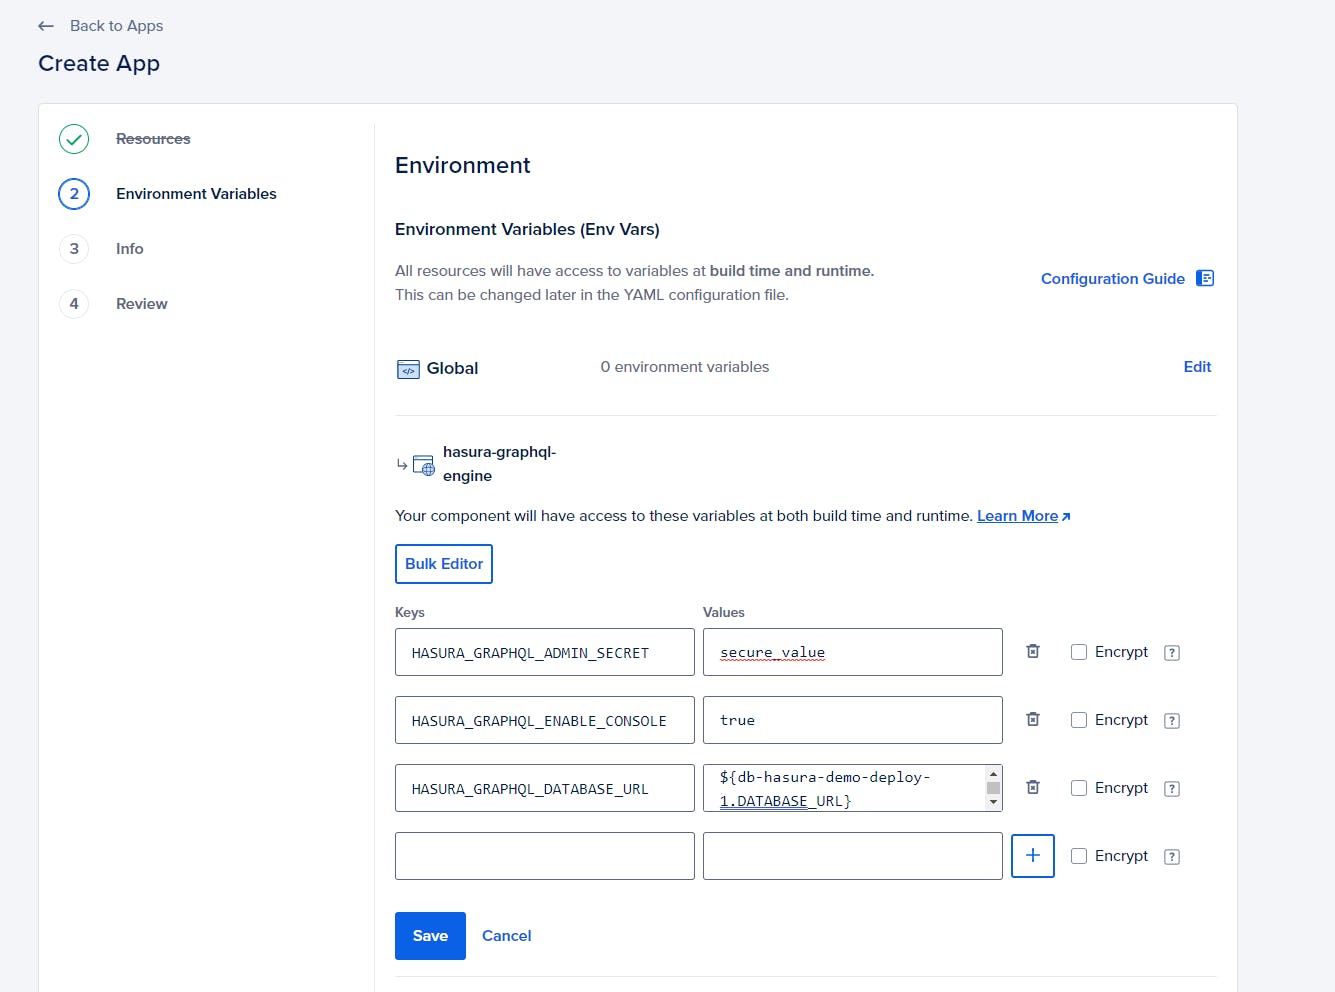
Hit "Save" first before clicking "Next."
Review and Create
You will be greeted by an Info screen:
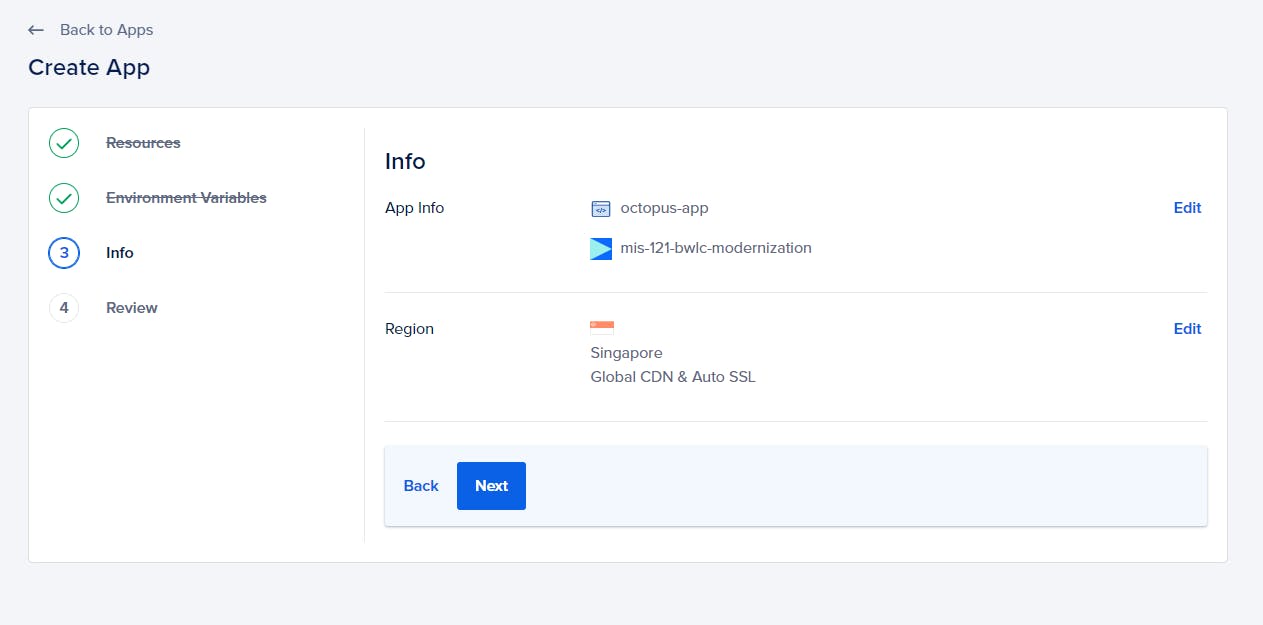
After clickling "Next," you will be directed to review the deployment:
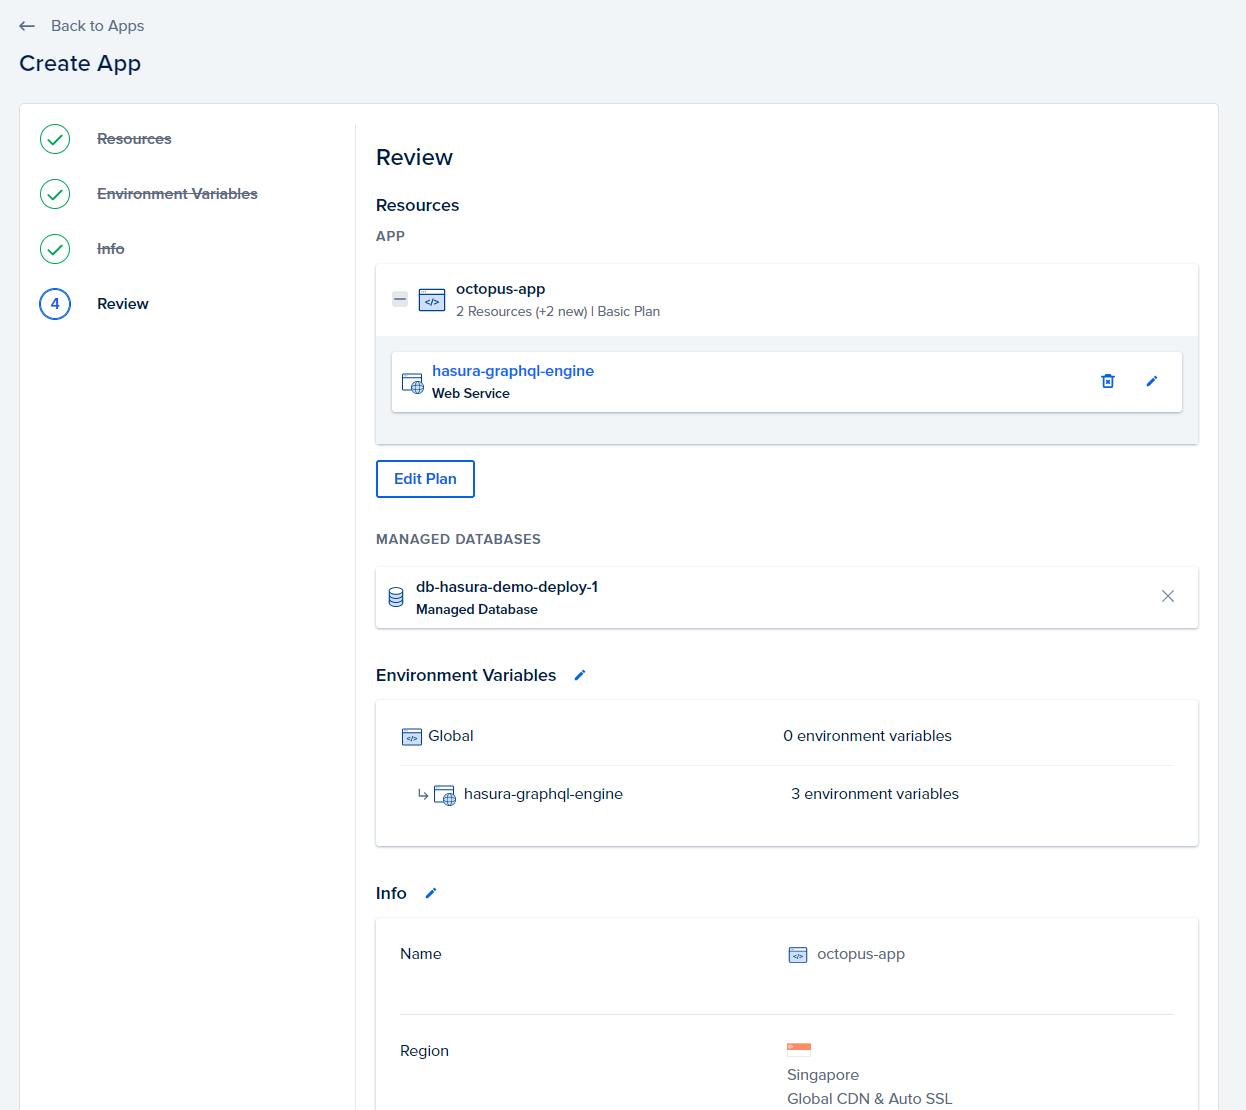
Click on "Create Resources"
Hasura should now be deployed 🎉
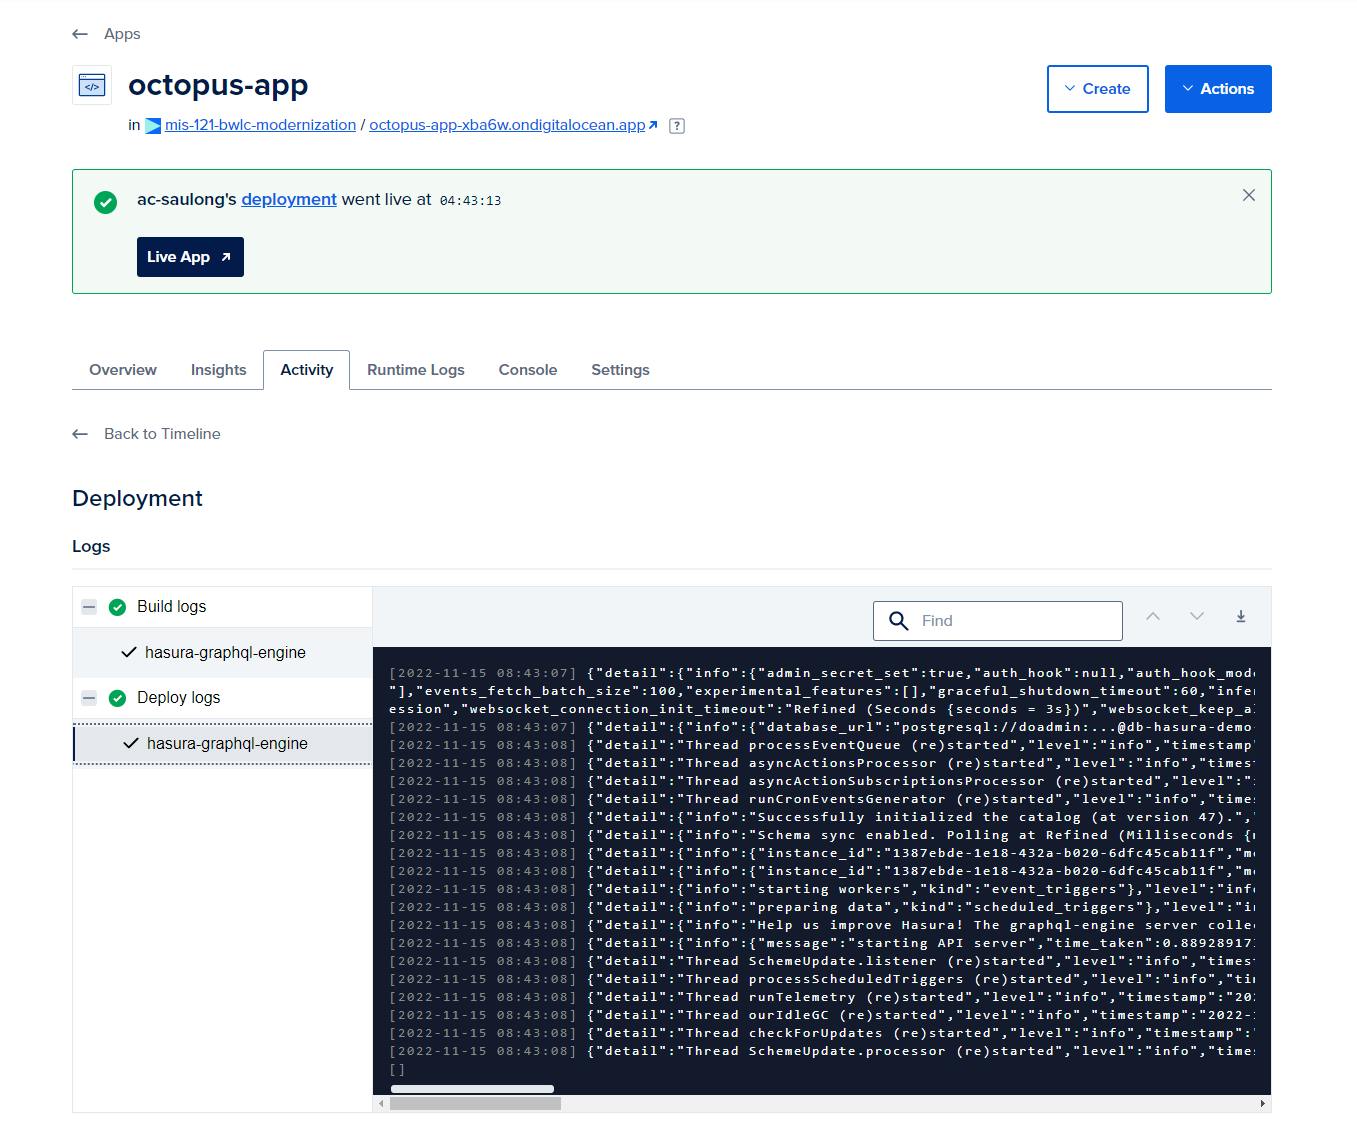
The App should also be automatically set as a trusted source of the database — which will disallow all incoming connections.